Introduction
Title: The Art and Science of Sewing PVC Patches onto Hat Back Closures
Introduction
In the world of fashion and accessories, customization is king. Whether you’re a brand looking to add a unique touch to your products or an individual wanting to express your personality through your attire, the addition of PVC patches to hats can be a game-changer. This article delves into the intricacies of sewing PVC patches onto the back closure of hats, exploring the materials, techniques, and considerations involved in this process. By the end, you’ll have a comprehensive understanding of how to transform a simple hat into a personalized statement piece.
Section 1: Understanding PVC Patches
What are PVC Patches?PVC (Polyvinyl Chloride) patches are durable, flexible, and weather-resistant embellishments commonly used in apparel and accessories. They come in various shapes, sizes, colors, and designs, making them ideal for adding logos, slogans, or artistic elements to hats.
Benefits of PVC Patches
- Durability: PVC patches can withstand the elements, making them suitable for outdoor use.
- Flexibility: They conform to the shape of the hat without losing their form.
- Versatility: Available in a wide range of designs, they can cater to diverse aesthetic preferences.
- Cost-effective: A cost-efficient way to add value and personalization to hats.
Section 2: Choosing the Right Hat and Patch
Types of Hats
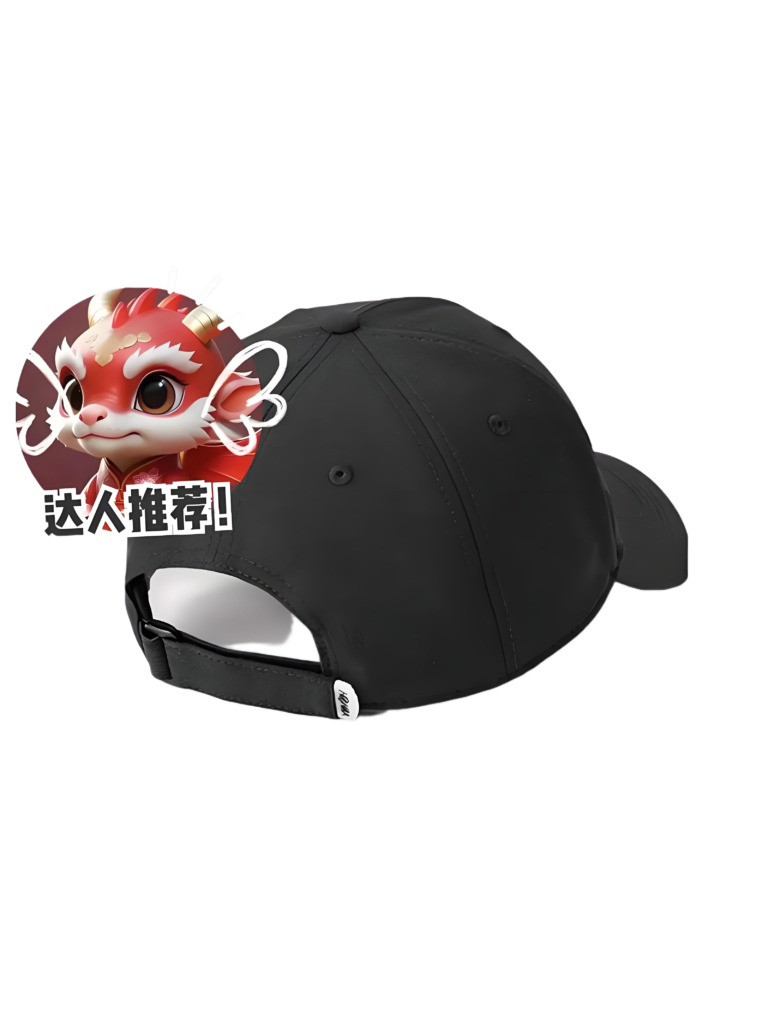
- Baseball caps
- Snapbacks
- Beanies
- Fedoras
- Each type of hat has its own unique back closure, which influences how the patch will be sewn on.
Selecting the Perfect Patch
- Consider the hat’s color and material to ensure the patch complements it.
- Choose a design that aligns with the intended use or message.
- Ensure the patch size is appropriate for the hat’s back closure area.
Section 3: Preparation Before Sewing
Gathering Materials
- PVC patch
- Hat
- Sewing machine or needle and thread
- Scissors
- Measuring tape
- Pins or clips
- Adhesive (optional for extra security)
Preparing the Hat
- Clean the area where the patch will be sewn to remove any dirt or debris.
- If the hat has a lining, carefully lift it to access the back closure.
Preparing the Patch
- If the patch has a sticky back, decide whether to use it or remove it for sewing.
- Trim any excess material around the patch’s edges for a clean finish.
Section 4: Sewing Techniques
Hand Sewing vs. Machine Sewing
- Hand sewing: Ideal for intricate designs or when working with delicate materials.
- Machine sewing: Faster and more efficient for larger patches or multiple patches.
Step-by-Step Sewing Guide
- Positioning the Patch: Place the patch on the desired location, ensuring it’s centered and straight. Use pins or clips to hold it in place.
- Thread Selection: Choose a thread color that matches the patch or hat for a seamless look.
- Starting to Sew: Begin sewing from the center of the patch, working outward in a spiral or zigzag pattern. This helps secure the patch evenly.
- Edge Sewing: Once the patch is mostly secured, sew around the edges for added stability. Use small, tight stitches to prevent the patch from fraying or peeling off.
- Finishing Touches: Knot the thread securely and trim any excess. If desired, apply a small amount of adhesive to the patch’s edges for extra security.
Section 5: Troubleshooting and Tips
Common Issues and Solutions
- Patch not lying flat: Ensure the hat’s material is smooth before sewing.
- Thread breaking: Use a stronger thread or adjust the sewing machine’s tension.
- Patch shifting during sewing: Use more pins or clips to keep it in place.
Tips for a Professional Finish
- Practice on a scrap piece of fabric before sewing on the actual hat.
- Take breaks to avoid eye strain and hand fatigue.
- Use a thimble to push the needle through thicker materials.
Section 6: Creative Applications and Trends
Custom Branding
- How businesses can use PVC patches to enhance their brand identity on hats.
Personalized Gifts
- Creating custom hats for special occasions, such as birthdays, anniversaries, or team events.
Fashion Trends
- Exploring current trends in hat customization and how PVC patches are being incorporated.
Conclusion
Sewing PVC patches onto the back closure of hats is a blend of art and practicality. With the right materials, techniques, and a bit of creativity, you can transform an ordinary hat into a unique fashion statement. Whether you’re doing it for personal expression, branding, or gifting, the process is rewarding and offers endless possibilities. So, gather your supplies, pick a patch that speaks to you, and start stitching!