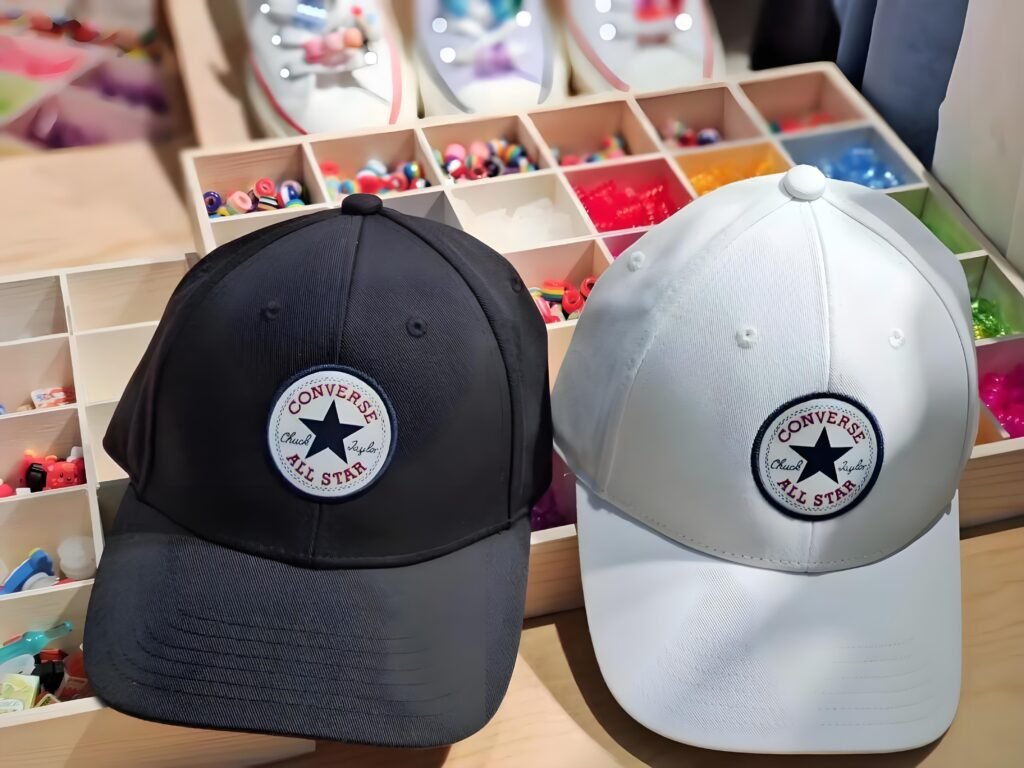
Title: The Art and Craft of Sewing PVC Patches onto Hat Fronts
Introduction
In the realm of fashion and accessory customization, the humble hat has long been a canvas for personal expression and brand identity. Among the myriad of ways to embellish a hat, sewing PVC patches onto the front page stands out as a unique and durable method. PVC (Polyvinyl Chloride) patches, known for their vibrant colors, weather resistance, and flexibility, have become a favorite among hat enthusiasts, fashion designers, and brands seeking to make a lasting impression. This article delves into the art and craft of sewing PVC patches onto hat fronts, exploring the process, techniques, and considerations that ensure a flawless finish.

The Appeal of PVC Patches
PVC patches have garnered widespread popularity due to their inherent qualities. Unlike traditional embroidered or woven patches, PVC patches offer a sleek, modern look that is both eye-catching and practical. The material’s ability to withstand the elements makes it an ideal choice for outdoor hats, ensuring that the design remains vibrant and intact even after exposure to sun, rain, and wind. Furthermore, PVC patches can be easily customized to feature intricate designs, logos, or even personalized messages, making them a versatile option for individual expression or brand promotion.
Choosing the Right PVC Patch
Before embarking on the sewing process, it is crucial to select the right PVC patch that aligns with the intended aesthetic and functional requirements. Considerations include the patch’s size, shape, color, and design complexity. Additionally, ensuring that the patch is compatible with the hat’s material and intended use is essential. For instance, a thicker PVC patch may be more suitable for a sturdy baseball cap than a delicate straw hat.
Preparing the Hat and Patch
Once the perfect PVC patch is chosen, the next step involves preparing both the hat and the patch for the sewing process. Begin by cleaning the hat’s front page to remove any dirt or debris that could interfere with the adhesion of the patch. If the hat is made of a fabric that is prone to fraying, it may be necessary to apply a stabilizer or interfacing to the back of the area where the patch will be sewn. This step helps to reinforce the fabric and ensures a cleaner, more professional finish.
On the other hand, the PVC patch should be prepared by trimming any excess edges and ensuring that the back of the patch is clean and free of any adhesive residues. If the patch comes with an adhesive backing, it is important to follow the manufacturer’s instructions regarding its activation and application.
Sewing Techniques for PVC Patches
Sewing PVC patches onto hat fronts requires a delicate balance of precision and creativity. The goal is to achieve a secure attachment while maintaining the patch’s integrity and the hat’s overall aesthetic. Here are some key techniques to master:
- Thread Selection: Opt for a strong, durable thread that matches the color of the patch or the hat’s fabric. Polyester or nylon threads are commonly used for their strength and resistance to wear and tear.
- Needle Size: Choose a needle that is appropriate for the thickness of the hat’s fabric and the PVC patch. A finer needle may be required for delicate fabrics, while a thicker one may be better suited for heavier materials.
- Stitching Method: There are several stitching methods that can be employed, depending on the desired effect. Straight stitching, zigzag stitching, and satin stitching are among the most popular. Straight stitching provides a clean, minimalistic look, while zigzag stitching adds a decorative touch and increases the patch’s durability. Satin stitching, on the other hand, creates a smooth, raised surface that enhances the patch’s visibility and texture.
- Sewing Process: Begin by positioning the patch on the hat’s front page, ensuring that it is centered and aligned as desired. Use pins or a temporary adhesive to hold the patch in place while you sew. Start stitching from the center of the patch and work outwards, gradually securing the entire perimeter. Be sure to keep the stitches close together to ensure a strong bond between the patch and the hat. As you sew, take care not to pucker the fabric or distort the patch’s design.
Finishing Touches
Once the patch is securely sewn onto the hat’s front page, it is time to add the finishing touches. Trim any excess thread and inspect the stitching for any loose or uneven areas. If necessary, use a small amount of fabric glue or clear nail polish to reinforce the stitching and provide additional protection against wear and tear. Finally, give the hat a good pressing with a warm iron (if the fabric allows) to flatten any wrinkles and ensure that the patch lies flat against the hat.
Conclusion (for this section)
Sewing PVC patches onto hat fronts is a rewarding endeavor that combines creativity with practicality. By carefully selecting the right patch, preparing the hat and patch, and mastering the sewing techniques, you can create a customized hat that reflects your personal style or brand identity. Whether you are a seasoned seamstress or a beginner, the process of sewing PVC patches is a delightful way to explore the world of hat customization and elevate your accessory game to the next level.
This is just the beginning of your article! From here, you can dive deeper into each section, discussing different types of hats, advanced sewing techniques, design ideas, and even the history of hat customization. Remember to use a mix of descriptive language, technical details, and personal anecdotes to keep your readers engaged and informed. Happy writing!


